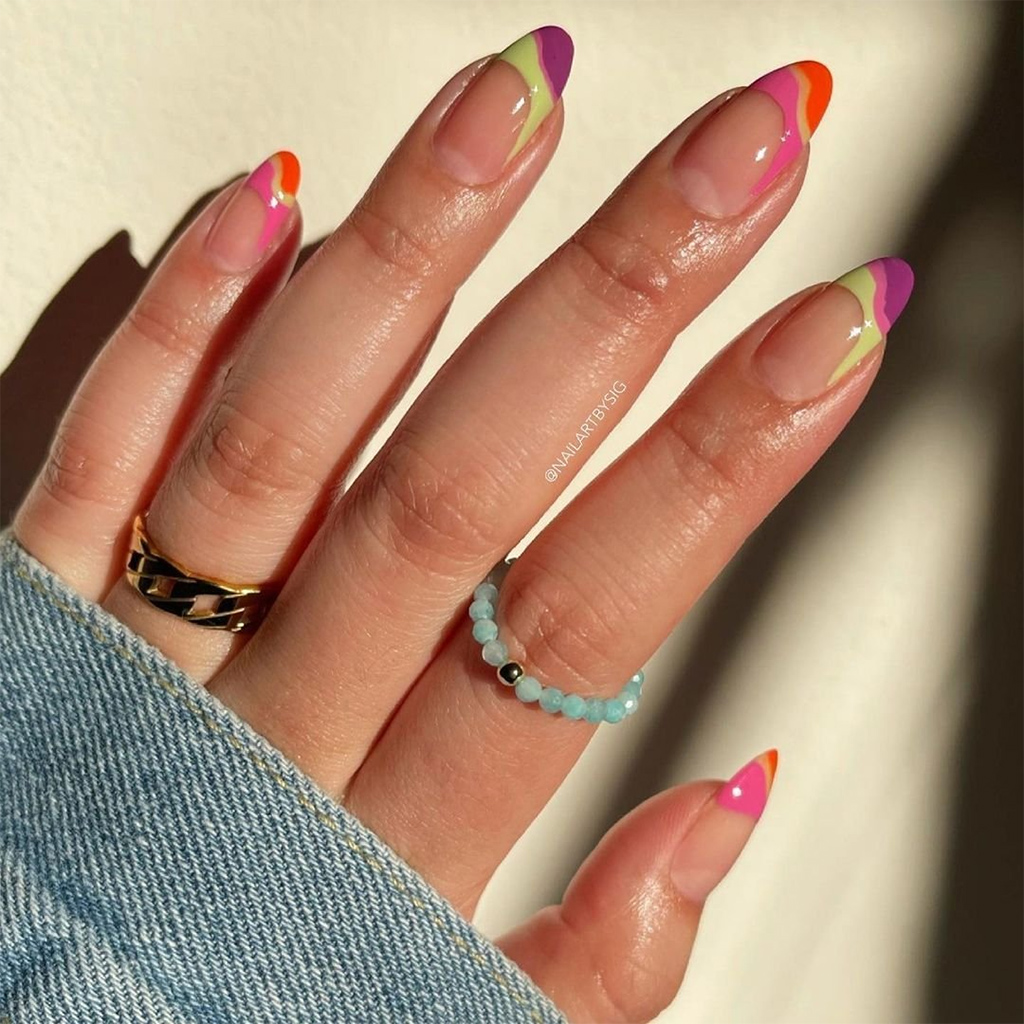
With the COVID-19 pandemic showing signs of developing further, the restrictions are getting tighter by the day. The new variants make it more dangerous for everyone to step out of the house for small things like nail manicures. We refer to the nail manicure as a small thing because you can master the technique at home and do away with the nail salon job for the time being.

Here is how you remove nail gel polish and reapply them at home.
The First Part – Gel Polish Removal
If you have nail polish residue on your nails, you need to remove them before proceeding with your next nail manicure.
File off the excess layers
A gel polish removal job needs soaking the nails in acetone for extended periods. It can harm your skin. Hence, it is better to make your job easier by filing off excess Gelixir nail polish layers using a sterilized nail file.
One should exercise care when filing the polish layers because you can overdo it and injure the nail surface. The trick lies in gently filing off the layers and leave out the thinnest possible nail polish layer for acetone removal.
The acetone soak
Take some cotton balls and immerse them in acetone-based nail polish removal solution. Next, place the soaked cotton balls on the nails and cover them with an aluminum wrap.
This procedure requires you to do one hand at a time. Then, retain the soak for about 20 minutes to allow the nail polish to dissolve in acetone.
As you remove the wrap and the cotton balls, you will find the nail polish layer sliding off smoothly. A meek push using an orangewood cuticle pusher should allow faster sliding.
Treat your nails
Your nail bed and skin surrounding it can get dry because of exposure to acetone. Therefore, it is advisable to use cuticle oil to massage the nail area and let the skin and nail absorb it. It helps in rehydrating the nails and nursing them back to their original health.
Give your nails a break
One should not rush through with the next Gelixir gel polish manicure immediately after removing the existing nail polish. It is better to wait for a couple of days to ensure that the nails recuperate and become fit to endure the next nail manicure. In the meanwhile, keep massaging the nails with cuticle oil. It helps retain the moisture levels.
The Nail Polish Manicure
Once your nails are ready for the manicure, you can proceed in the following manner.
Prep your nails
By this time, your nails would have grown longer. Therefore, it becomes essential to cut and file them properly. When cutting the nails, one should ensure not to leave sharp edges as it can cause the nail polish to lift. The best procedure is to file the nail edges and blunt them. Besides, it is the right time to shape your nails according to your preferences.
You should not forget the cuticles because they too would have grown out of their grooves by now. You can use an orangewood cuticle pusher to push them back into the grooves gently without injuring them. Besides being painful, such injuries can take time to heal.
Get the basecoat ready
Once the nails are ready after the buffing process, you can proceed with the basecoat application. One should be careful not to extend the basecoat into the cuticle area. It is better to leave out a gap of a millimeter or two. It ensures that the gel polish does not stick to the cuticles and thus, prevents lifting of the nail polish layer. When applying the basecoat, it is better to apply as thin a coat as possible.
Curing the basecoat layers under the UV lamp is essential. Therefore, it is better to go with two fingers at a time. It enables easier and proper curing.
The gel polish application
After ensuring that the basecoat has dried out completely, you can select your favorite gel polish color to apply to your nails. Next, one should apply nail polish in straight lines from the base to the edges. Sealing the edges is crucial to prevent the lifting of the nail polish layer in the future.
The gel manicure requires the curing of the polish layer at every stage. It enables the Gelixir components to bond with the basecoat better.
The topcoat application
Finally, you apply the topcoat layer over the gel polish. While one layer should suffice for a matte finish, a glossy feel requires a couple of more layers. However, every layer requires curing under the UV lamp.
The nail polish layer could appear tacky after the curing process. However, you can use a nail polish wipe and gently remove the tacky layer to reveal beautifully shining gel nails.
Final Words
The gel manicure is one of the easiest to practice and master. This manicure can last comfortably for two to three weeks. If you know how to remove and apply nail gel polish, you will not require the nail salon technician’s services.